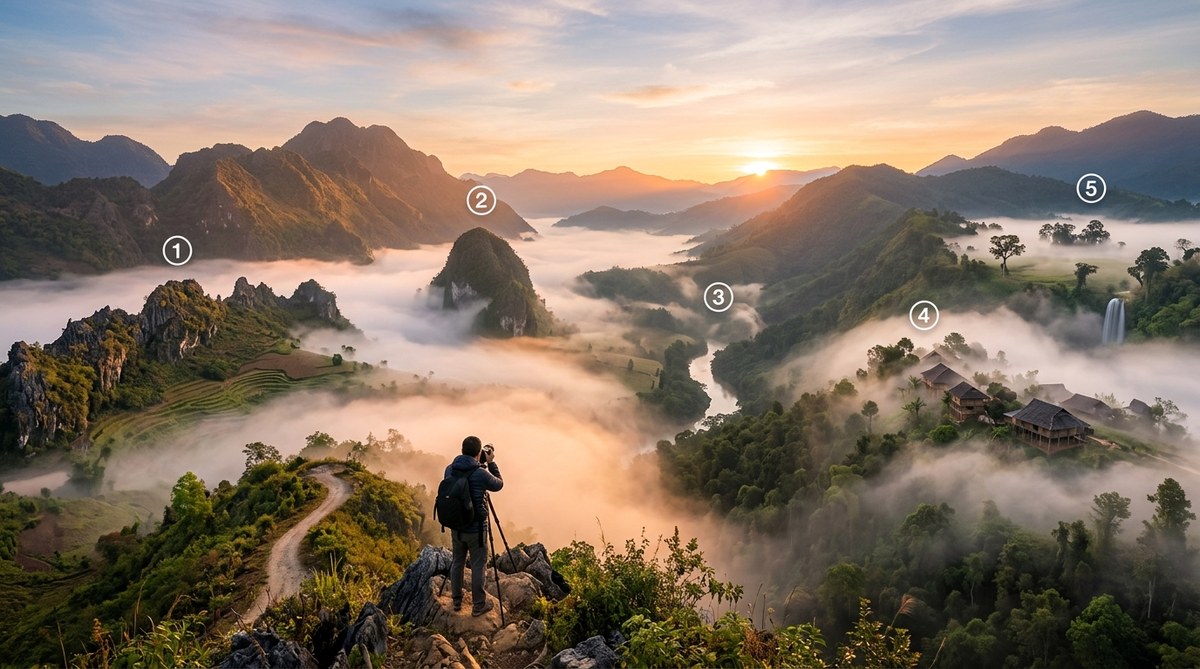
The best foggy morning landscape photos feel like a secret. Layers of mist turn a simple hill into a mountain. A row of trees becomes a ghostly wall. In Southeast Asia, the conditions for this kind of photography are almost perfect, but the most famous spots are often crowded with tripods by 5 AM. You do not need to fight for space at the usual viewpoints. Some of the most striking images come from places that most photographers skip.
This guide covers five overlooked locations in Southeast Asia where fog is reliable and crowds are thin. You will learn the best time of year to visit, how to prepare for the morning mist, and a simple workflow for editing those moody shots. Whether you shoot with a mirrorless camera or a smartphone, these spots will give you a fresh portfolio of foggy landscapes.
Why Foggy Mornings Are a Landscape Photographer’s Best Friend
Fog simplifies a scene. It removes clutter. It hides ugly power lines and distant buildings. When you shoot during a foggy morning, the atmosphere does the composition work for you. The mist creates natural leading lines and soft gradients that guide the eye through the frame.
Southeast Asia has a unique advantage for this style of photography. The combination of warm, humid air and cool mornings creates dense fog in valleys and over rice fields from roughly November through February. The key is knowing where to stand when the fog rolls in.
The 5 Overlooked Locations for Foggy Morning Shots
These are not the usual suspects. You will not find Ha Long Bay or the Banaue Rice Terraces here. Those places are beautiful, but they are also well documented. The locations below offer similar drama with far fewer photographers.
1. Ta Dung Lake, Vietnam
Most travelers rush to Da Lat for the mountain views. Ta Dung Lake sits a few hours south and gets almost no attention. The lake is dotted with small islands that poke through the mist like the back of a sleeping dragon. In December and January, the fog settles low over the water and stays there until about 8 AM.
What to shoot: Wide angle shots of the islands breaking through the fog. A telephoto lens works well here too, compressing the layers of mist and water.
Getting there: Rent a motorbike in Da Lat and ride south on Highway 20. The drive takes about three hours. Stay at a homestay near the lake so you can be on the water before sunrise.
2. Khao Sok National Park, Thailand
Khao Sok is famous among hikers, but landscape photographers often overlook it. The park has a massive reservoir surrounded by limestone cliffs. In the early morning, the entire valley fills with a thick, white blanket of fog. The cliffs look like they are floating.
What to shoot: Wide panoramas from the Cheow Lan Lake viewpoint. Use a polarizing filter to cut through the haze and pull out the green of the jungle.
Getting there: Drive from Phuket or Krabi. The park entrance is about two hours from either city. Book a bungalow inside the park so you can shoot at first light without a long commute.
3. Kampot Province, Cambodia
Kampot is known for pepper farms and riverside cafes, not for landscape photography. That is exactly why you should go. The area around Phnom Chhngok Cave has rolling hills covered in rice paddies. In the dry season, the morning fog sits in the low areas and creates a layered effect similar to the famous Sapa region in Vietnam, but without the crowds.
What to shoot: Minimalist compositions with a single tree or a small hut emerging from the mist. The light here is softer than in the mountains, so you can shoot later into the morning.
Getting there: Fly into Phnom Penh and take a bus or rent a car to Kampot. The drive takes about three hours. Rent a bicycle and ride out to the rice fields before dawn.
4. Balingeny Valley, Indonesia
Bali is packed with photographers chasing the sunrise at Mount Batur or the rice terraces in Ubud. Balingeny Valley sits in the northern part of the island and sees almost no visitors. The valley is a wide agricultural plain with small villages and coconut groves. The fog here is consistent from June through August.
What to shoot: Long exposures of the fog rolling over the fields. Use a tripod and a neutral density filter to smooth out the movement of the mist.
Getting there: Drive north from Ubud or take a scooter from Singaraja. The valley is easy to find, but there are no marked viewpoints. Scout the area the day before and pick your spot.
5. Doi Pha Hom Pok, Thailand
This mountain in Chiang Mai province is a popular hiking spot, but it rarely appears on photography lists. The summit offers a 360 degree view of the surrounding valleys. In the cool season, the fog fills the valleys below while the sky above stays clear. You get the rare chance to shoot down into the fog rather than through it.
What to shoot: Overhead shots of the fog layer with the mountains poking through. A drone would be incredible here, but the hike is steep. A lightweight tripod and a wide angle lens are better choices.
Getting there: Hike from the trailhead near Ban Pang Ma. The trek takes about two hours. Start at 4 AM to reach the summit for sunrise.
How to Prepare for a Foggy Morning Shoot
Fog is unpredictable, but you can tilt the odds in your favor. Follow these steps to make sure you are ready when the mist shows up.
- Check the weather forecast the night before. Look for a clear sky and light wind. Fog forms when the ground cools quickly after a clear day, and it disappears when the wind picks up.
- Set your alarm for at least 90 minutes before sunrise. You need time to get to your spot and set up before the fog starts to burn off.
- Pack a microfiber cloth. Your lens will fog up when you step out of a warm car into the cold morning air. Wipe it dry and wait a few minutes for the glass to acclimate.
- Shoot in RAW. Foggy scenes have a narrow tonal range, and RAW files give you more flexibility to recover details in the highlights and shadows.
- Bracket your exposures. The mist can trick your camera’s meter. Shoot three frames at different exposures and blend them later.
Common Mistakes and How to Fix Them
Even experienced photographers make errors when shooting in fog. Here is a table of the most common issues and the simple fixes.
| Mistake | Why It Happens | The Fix |
|---|---|---|
| Flat, gray images | The camera exposes for the mist, making everything look dull. | Use exposure compensation. Dial in +0.7 to +1.0 to keep the fog bright and add contrast in post. |
| Blurry photos | Autofocus struggles in low contrast fog. | Switch to manual focus. Use live view and zoom in on a distant object to set focus. |
| Too much empty space | The fog hides the subject completely. | Wait for a gap in the mist. Use a longer lens to isolate a smaller section of the scene. |
| Cold battery failure | Lithium ion batteries drain faster in cold, damp air. | Keep a spare battery in your jacket pocket. Swap it in when the camera slows down. |
“The best fog shots happen when you are patient. Do not pack up the second the sun comes out. The fog often lifts and settles in waves. That second wave can be the one that gives you the perfect frame.”
An experienced landscape photographer based in Chiang Mai
Gear Recommendations for Foggy Conditions
You do not need a massive kit bag for this kind of photography. Focus on a few key pieces of gear that handle moisture and low contrast well.
- Camera body: A weather sealed body is ideal, but not required. A plastic rain cover works fine for occasional drizzle.
- Lens: A standard zoom like a 24-70mm covers most scenarios. A 70-200mm telephoto is useful for compressing layers of fog.
- Tripod: Get one with rubber feet. Metal legs stick to wet ground and can be noisy when you adjust them.
- Filters: A circular polarizer cuts through haze and boosts saturation. A 2-stop soft graduated ND filter helps balance the bright sky with the darker foreground.
- Bag: Use a dry bag or a waterproof backpack. Fog turns into condensation on everything.
For a deeper look at building a kit for these conditions, check out our guide on choosing the perfect camera gear for capturing asia’s stunning landscapes.
Editing Foggy Landscape Photos for Maximum Mood
Post processing is where a good fog shot becomes a great one. The goal is to enhance the atmosphere without making the image look artificial.
- Start with the white balance. Fog often makes the image look cool and blue. Warm it up slightly to give the mist a soft golden glow.
- Add contrast. Use a gentle S curve in your editing software. Pull the shadows down just a little to keep the dark areas from going completely black.
- Reduce clarity. Yes, reduce it. Lowering the clarity slider by 10 to 15 points gives the fog a softer, more natural look.
- Use a graduated filter for the sky. If the fog is thin, the sky might be too bright. Darken the top of the frame to keep the viewer’s eye in the misty middle.
If you want to refine your editing workflow, read our guide on mastering asian landscape photography edits for stunning results.
A Quick Checklist for Your Next Foggy Morning Trip
Use this list to make sure you do not forget anything important.
- Check the weather for clear evenings and light wind.
- Scout the location the afternoon before.
- Charge all batteries and pack spares.
- Bring a microfiber cloth and a rain cover.
- Set your alarm for 90 minutes before sunrise.
- Pack a thermos of coffee. You will be standing still for a while.
- Tell someone where you are going. Cell service can be spotty in remote valleys.
Timing Your Trip Around the Seasons
Fog is seasonal across Southeast Asia. Here is a general guide for when to visit each of the five locations.
| Location | Best Months | Fog Density |
|---|---|---|
| Ta Dung Lake, Vietnam | November to February | Heavy |
| Khao Sok, Thailand | December to February | Heavy |
| Kampot, Cambodia | November to January | Moderate |
| Balingeny Valley, Indonesia | June to August | Moderate |
| Doi Pha Hom Pok, Thailand | November to February | Heavy |
Your Next Shot Is Waiting in the Mist
The five locations in this guide offer a real chance to capture something different. They are not on the typical photography tour routes. They require a bit of planning and a willingness to wake up early. But the reward is a portfolio of images that feel quiet, moody, and entirely your own.
Pack your bag, pick a spot from the list, and go. The fog will be there waiting for you.