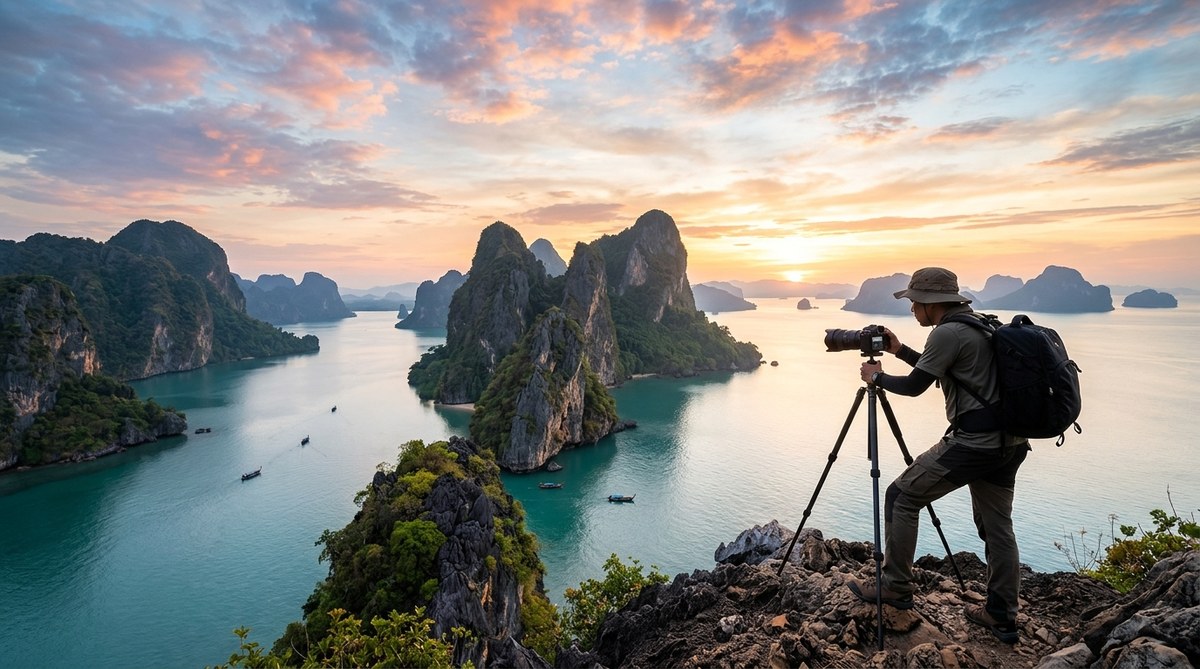
The jagged limestone spires of Thailand’s Andaman Sea look like they belong on another planet. These ancient karst formations, shaped by millions of years of erosion, rise straight out of emerald water. For a photographer, they offer a rare chance to capture something truly surreal. The islands of Phang Nga Bay, Koh Phi Phi, and Railay Beach are the most famous examples. But getting a great shot of them takes more than just showing up with a camera. You need the right timing, the right gear, and a solid plan for composition.
To capture the magic of Thailand’s limestone karst islands, plan your shoot around golden hour and the monsoon season. Use a polarizing filter to cut through haze and a wide-angle lens for scale. Focus on layering foreground elements like longtail boats or mangrove roots. Avoid midday sun and overcast flat light. The best months are December through March for clear skies and calm water.
Why Thailand’s Karst Islands Demand a Different Approach
These islands are not your typical beach scene. The karst towers are massive, vertical, and often shrouded in mist. They create a sense of depth that can be hard to translate into a flat image. The water around them is usually a mix of deep blue and turquoise, but it can look murky without the right light. The biggest challenge is dealing with haze and humidity. Even on a clear day, the air can feel thick. That is where your technique matters most.
A standard landscape approach will leave you with a dull, washed-out photo. You need to think about layers. The karst formations work best when you have a distinct foreground, middle ground, and background. A longtail boat drifting in the foreground gives scale. The middle ground should be the main karst tower. The background can be a softer, more distant formation fading into the sky.
5 Essential Steps for Shooting Karst Islands
Here is a straightforward process to follow when you arrive at a location. It will save you time and help you avoid common mistakes.
- Scout the location at low tide. The water level changes dramatically in Phang Nga Bay. Low tide exposes sandbars, small caves, and unique rock textures that are invisible at high tide. Use Google Maps satellite view or a local tide chart app to plan your visit.
- Set up your tripod before the sun moves. The light changes fast in the tropics. Get your composition dialed in at least 30 minutes before sunrise or sunset. Do not waste time fiddling with settings when the light is perfect.
- Use a polarizing filter. This is non-negotiable. A circular polarizer cuts through the surface glare on the water and saturates the green of the limestone. It also reduces haze, making the distant formations appear sharper.
- Focus one-third of the way into the scene. Autofocus can get confused by the water and mist. Switch to manual focus and use live view to zoom in on a rock detail. This ensures your entire frame stays sharp from front to back.
- Bracket your exposures. The dynamic range between the bright sky and the dark shadowed cliffs can be too much for one shot. Shoot three frames at -1, 0, and +1 EV. Blend them later in post-processing for a balanced result.
Choosing the Right Gear for Humid Conditions
The humidity in Thailand is brutal on camera equipment. Salt spray is even worse. You need gear that can handle the environment without breaking down. Here is a table that breaks down what works and what does not.
| Gear Type | Recommended | What to Avoid |
|---|---|---|
| Camera Body | Weather-sealed mirrorless or DSLR (e.g., Olympus OM-D, Nikon Z series) | Entry-level bodies without weather sealing |
| Lenses | 16-35mm wide-angle zoom (for scale) and a 70-200mm telephoto (for compressed layers) | Slow kit lenses (f/5.6 or higher) |
| Filters | Circular polarizer and a 3-stop hard-edge graduated ND | Cheap, uncoated filters that cause flare |
| Support | Carbon fiber tripod (resists corrosion) | Aluminum tripods (salt water will corrode them) |
| Protection | Silica gel packs in your bag and a rain cover | Leaving gear exposed in direct sun or salt spray |
The Best Times of Year to Photograph Karst Islands
Timing your trip matters as much as your camera settings. The weather in southern Thailand follows two main seasons. The dry season runs from November to April. The wet season runs from May to October. For photography, the dry season is ideal. Specifically, the months of December, January, and February offer the clearest skies and the calmest water. The haze is at its lowest, and the sunrises are vibrant.
The wet season brings dramatic clouds and storms. That can be great for moody shots, but it also means frequent rain and rough seas. If you want that classic postcard look with blue skies and turquoise water, aim for February. If you want dramatic, brooding images with heavy cloud cover and rain shafts, try September or October. Just be ready to protect your gear.
“The best light I have ever seen in Phang Nga Bay was during a brief break in the monsoon. The clouds parted for exactly 12 minutes, and the sun lit the karst towers like they were on fire. You have to be patient and ready to shoot the moment the weather shifts.” — Local guide and photographer, Anong S.
Composition Mistakes That Ruin Karst Photos
Even experienced photographers make these errors. Avoid them to get stronger images.
- Including too much sky. The karst towers are the subject. If you fill the top half of your frame with empty sky, you lose the impact. Keep the sky to about one-third of the frame, unless there are dramatic clouds.
- Centering the main tower every time. Placing the largest formation dead center creates a static, boring image. Use the rule of thirds. Put the main tower on a vertical third line. Let the water lead the eye into the frame.
- Forgetting to include a human element. A longtail boat, a kayak, or even a person standing on a beach gives the viewer a sense of scale. Without it, the karst towers can look like small rocks. Include a boat to show how massive these formations really are.
- Shooting from the same angle as everyone else. The classic postcard shot from the beach at Railay is beautiful, but it is also overdone. Hire a local boat to take you to a less crowded spot. Shoot from a different angle, like looking back at the mainland from a small island.
How to Handle Challenging Light Conditions
The tropics are notorious for harsh midday light and flat, overcast skies. Here are two practical ways to handle them.
Harsh midday light. The sun is directly overhead, creating deep shadows and blown-out highlights. The solution is to look for shaded areas. Shoot from under a cliff overhang or inside a sea cave. The contrast between the bright water outside and the dark cave interior can create a dramatic frame. Use a tripod and a slow shutter speed to capture the water as a smooth, silky texture.
Flat, overcast skies. The light is even, but the image lacks contrast. Convert the shot to black and white. The limestone karst formations have strong textures that look great in monochrome. Focus on the shapes and lines of the rock. The lack of color can actually make the image more graphic and powerful. You can also try shooting directly into the light for a silhouette effect.
Plan Your 2026 Shoot Around the Monsoon Schedule
The monsoon season in Thailand has shifted slightly in recent years due to climate patterns. For 2026, the Andaman coast is expected to see the southwest monsoon arrive around mid-May. That means the best window for clear skies is from early December to late April. If you want to avoid crowds and still get decent weather, try late November or early March. The water is still warm, and the light is good.
If you are planning a longer trip, consider pairing your karst island shoot with a visit to the inland karst landscapes of Krabi province. The contrast between the coastal towers and the inland cliffs is worth capturing. You can find more tips for shooting in remote areas in our guide on top tips for capturing vibrant mountain landscapes in Asia’s remote regions.
Final Thoughts on Shooting Thailand’s Limestone Karst Islands
The key to a great karst photo is patience and preparation. Wait for the right light. Protect your gear from salt and humidity. Use a polarizer and a tripod. And most importantly, find a unique angle that tells your own story. These islands have been photographed millions of times. Your job is to find a fresh way to show their otherworldly beauty.
Get out there, experiment with different compositions, and do not be afraid to wait for the weather to change. The best shot is often the one you almost gave up on. Now grab your camera and head to the Andaman Sea. The karst towers are waiting.